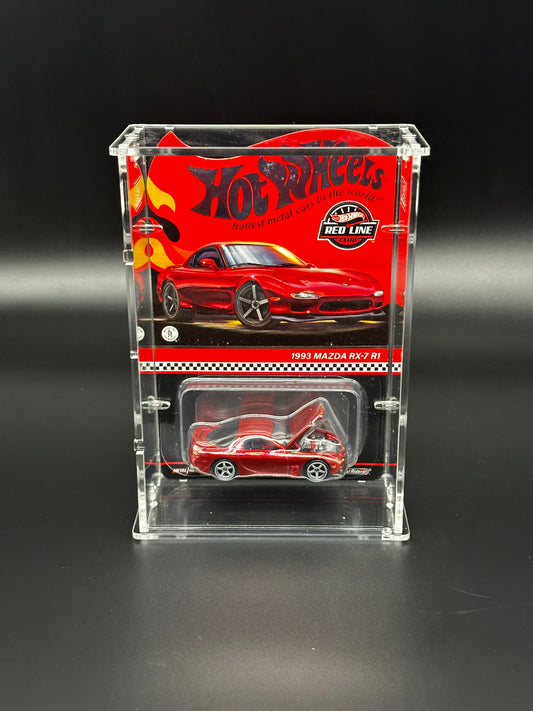
Diecast Box Style Dual Display Assembly Instructions
PRO TIP: Try a test assembly before peeling the protective paper. You do not need to screw it together for the test, this way you can learn how the panels go together before you start final assembly. Consider using gloves during assembly to prevent fingerprints.
Step 1: Lay out the acrylic panels
Keep the protective paper film on the acrylic, lay out all the acrylic panels on a clean surface, making sure they are positioned for easy identification.
Step 2: Start with the bottom (Panel #1)
To begin, take the bottom panel (#1) and position it with the #1 sticker facing up. Peel off the top protective film.
Step 3: Placing the back (Panel #2)
To begin, take the back panel (#2) and position it with the #2 sticker facing forward. Peel off the protective film from both sides and place the panel into the rear holes of panel #1. You can let it lean forward so it will stand up for now.
Step 4: Placing the side walls (Panels #3 & 4)
Next, remove the paper film from the side panel (#3) and panel (#4). Then, assemble the side panels to the back panel, ensuring that the KR logos are on the bottom side of the side panels and facing outwards. The actual engraving will be on the insides of the side panels.
Step 5: Placing the Center (Panel #5)
Remove the protective film from the center panel (#5) and place it in the center of the bottom panel by aligning the tabs and holes. Make sure the rear tab is placed into the back panel #2 at the top.
Step 6: Placing the Top Panel (Panel #6)
Remove the protective film from the bottom of the top panel (#6) and place it on top of the other panels by aligning the tabs and holes.
Step 7: Securing the panels together with hardware
Using the acrylic nuts and stainless screws provided, insert one of the nuts into the hole on the center panel. While holding the nut in place, insert a screw into the screw hole above and start threading into the nut by hand to get it started. Then snug the screw down with the provided hex wrench. DO NOT OVER TIGHTEN!!!
After securely holding the bottom panel in place, carefully flip the display over.
Repeat this process on the left and right sides. DO NOT OVER TIGHTEN!!!
PRO TIP: Do the outer 4 nuts and bolts first. Then turn the display on it side and do the center nuts and screws. It makes it easier to place the nuts into the holes.
Step 8: Adding the Carded Diecast
Add one of your carded diecast and secure it with 3 of the slide-in clips, two clips on the outer side, and one clip in the bottom hole of the center panel.
Add the second carded diecast on the opposite side and secure it with 3 more slide-in clips, two on the outer side and one in the top hole in the center panel.
Step 9: Add Front Panel (#7)
Loosen the top screws just enough so the front panel can be placed into the tabs. You can test fit before removing the protective film. Then remove the protective film and attach the front panel (#6) to the bottom panel by aligning the tabs and holes, then into the holes in Panel #6. Once you have the tabs and holes all aligned you can tighten the screw back down and you are done!
Step 10: Enjoy your finished display
Take a moment to appreciate your work! Your acrylic box display is now ready to show off your items.
Cleaning Notes:
Avoid Windex or other harsh chemicals. Opt for an acrylic cleaner or soap and water to maintain the display's appearance. Use soft cloths like microfiber for cleaning, avoiding paper towels. ALWAYS spray the towel, not the display directly!!!
Step 11 (optional): Share your creation
Share photos of your constructed acrylic box display on social media or with friends to present your collectible showpiece with style!
PS: Be sure to tag us so we can see it too!!!
Facebook / Instagram / Tiktok
@kreativerides
Video Example of Assembly
Have Issues? Need Support?
Should any issues arise, regardless of size, contact us using the form below and allow us to assist you. We are fully dedicated to your satisfaction with our displays and cases. Thank you for being part of the KR family!
Contact form
Featured collection
-
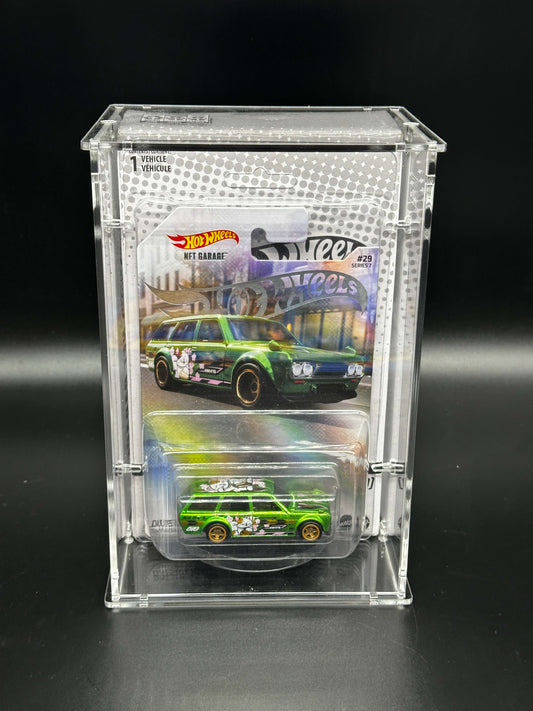
Hot Wheels NFT Acrylic Display Case
Regular price $20.00Regular price -
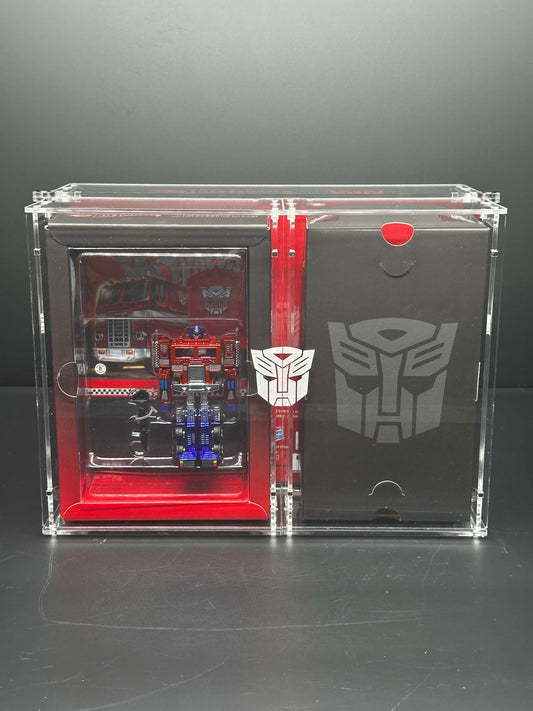
Hot Wheels Transformers RLC Optimus/Nemesis Prime Folding Acrylic Display
Regular price $60.00Regular price -
3 Pack Bundle of Hot Wheels RLC Small Box 1-Tier Diecast Acrylic Display *Stackable*
Regular price $26.00Regular price$33.00Sale price $26.00Sale -

2 Pack Bundle Hot Wheels Mainline/RLC, Matchbox, and Car Tuned (Walgreens Edition) Acrylic Display
Regular price $25.00Regular price$30.00Sale price $25.00Sale


