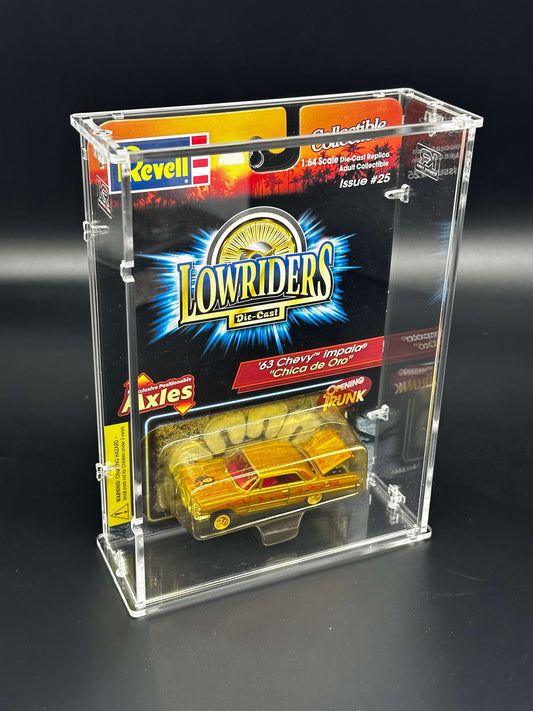
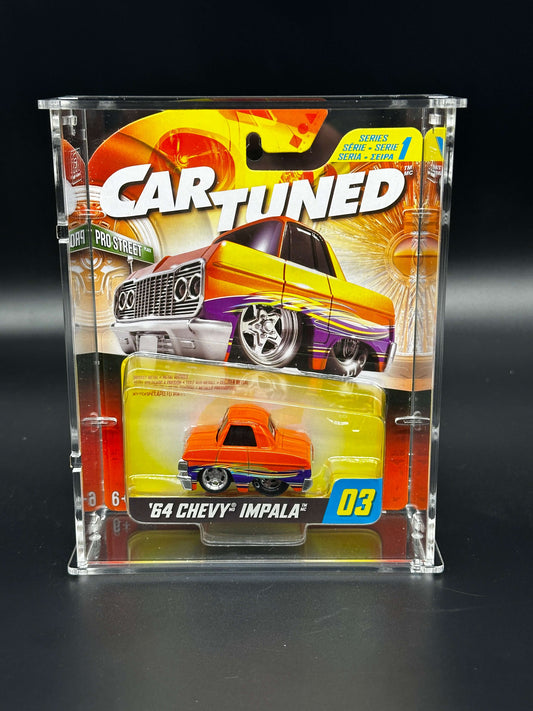
Diecast Box Style Display Assembly Instructions
Step 1: Lay out the acrylic panels
Keep the protective paper film on the acrylic, lay out all the acrylic panels on a clean surface, making sure they are positioned for easy identification.
Important Notes:
Consider using gloves during assembly to prevent fingerprints.
Step 2: Start with the bottom (Panel #1)
To begin, take the bottom panel (#1) and position it on the surface with the #1 sticker facing up and the door hole towards you. Peel off the top protective film.
Step 3: Assemble the walls (Panel #2, 3, 4)
Next, remove the paper film from the back (#2) and side panels (#3 & 4). Then, assemble the side panels to the back panel, ensuring that the KR logos are on the top side of the side panels and facing outwards. The actual engraving will be on the insides of the side panels. Place these panels on top of the bottom panel (#1) by aligning the tabs and holes.
Step 4: Assemble the Door and Top (Panel #5, 6)
Remove the protective film from the door panel (#5), insert the hinge tab into the hole on the bottom panel (#1), and prop it up to stay in place for now.
Remove the protective film from the bottom side of the top panel (#6) and place it on top of the other panels, including the door, by aligning the tabs and holes.
Step 5: Securing the panels together with hardware
Using the acrylic nuts and stainless screws provided, insert one of the nuts into one of the holes on the top of the right side. While holding the nut in place, insert a screw into the screw hole above and start threading into the nut by hand to get it started. Then snug the screw down with the provided hex wrench.
Repeat this process on the left side.
After securely holding the bottom panel in place, carefully flip the display over. Then repeat this process on each side.
Step 6: Add the final touches
Once the box is built, remove any protective film on the acrylic and clean the display with a microfiber towel for a pristine look.
Cleaning Notes:
Avoid Windex or other harsh chemicals. Opt for an acrylic cleaner or soap and water to maintain the display's appearance. Use soft cloths like microfiber for cleaning, avoiding paper towels.
Step 7: Place your items inside
Carefully place your item inside the acrylic box display!
Loose Items:
Attach the item using a putty of your choosing
Carded Items:
Position the item against the back wall and use 2 acrylic clips on each side to secure it. Handle with care to prevent any damage.
Step 8: Enjoy your finished display
Take a moment to appreciate your work! Your acrylic box display is now ready to show off your items.
Step 9: Share your creation
Share photos of your constructed acrylic box display on social media or with friends to present your collectible showpiece with style!
PS: Be sure to tag us so we can see it too!!!
Facebook / Instagram / Tiktok
@kreativerides
Video Example of Assembly
If you have issues with assembly, please use the contact form below so we can help!
Contact form
Featured collection
-
Revell Diecast Acrylic Display
Regular price $19.99Regular priceUnit price / per -
2 Pack Bundle of Funko Pop (Pop 4") - Stackable Acrylic Displays
Regular price $34.99Regular priceUnit price / per -
2 Pack Bundle of Car Tuned Single Pack Acrylic Displays
Regular price $28.99Regular priceUnit price / per -
6 Pack Bundle of Loose Diecast Acrylic Display - Stackable w/Door (Clear Bottom/Clear Back)
Regular price $34.99Regular priceUnit price / per


